

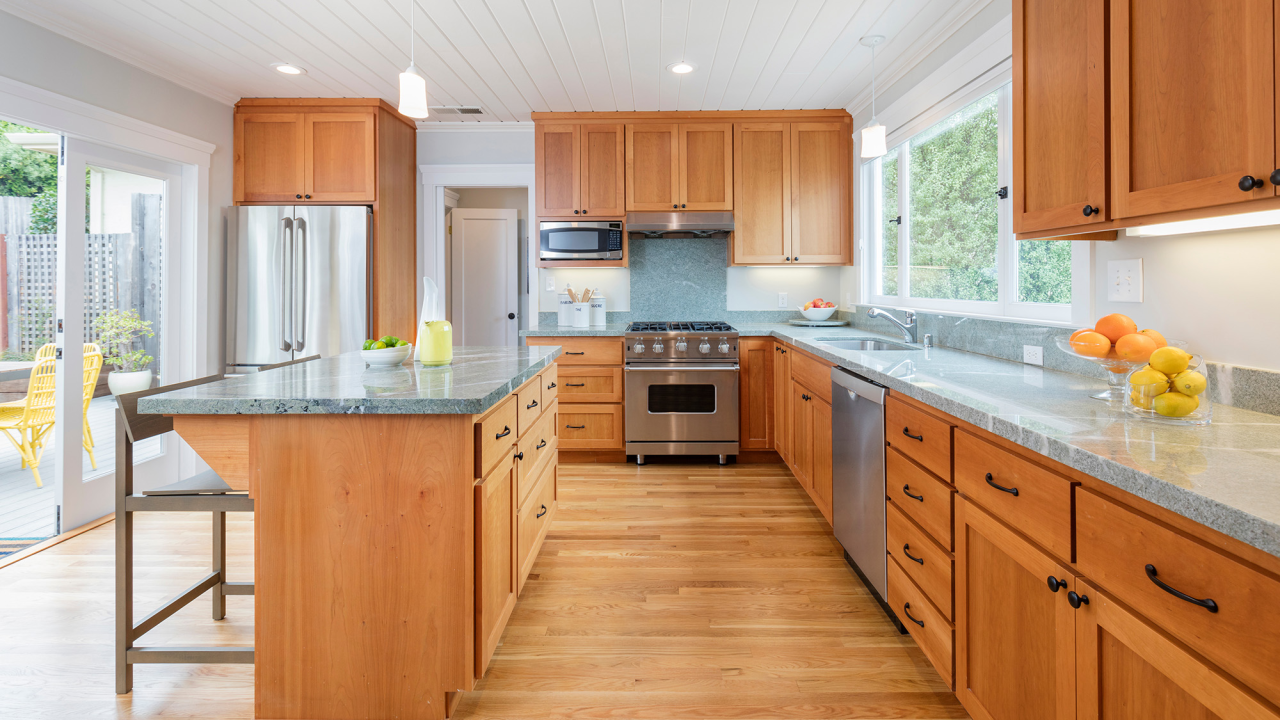
The kitchen is no longer just a place to prep meals; it is the central gathering place for family, friends, and everyday life. Because modern home layouts emphasize open-concept spaces, homeowners increasingly want a continuous flooring surface that flows smoothly from the living room directly into the cooking zone.
Natural hardwood brings an unmatched level of warmth, organic texture, and timeless elegance to a kitchen. However, because kitchens are high-moisture, heavy-traffic environments subject to dropped pans and grease splatters, installing wood here requires careful planning. By following a few key design and material rules, you can enjoy rich, beautiful hardwood in your kitchen for decades to come.
Rule 1: Choose the Right Construction Type
When placing wood in a room prone to temperature shifts and humidity spikes, the construction of the plank matters tremendously. While solid hardwood is classic and can be refinished multiple times, engineered hardwood is often the superior technical choice for kitchen environments.
Engineered hardwood features a real wood veneer on top, supported by multiple cross-directional layers of high-grade plywood beneath. This layered structural core makes the plank significantly more stable than solid wood. It resists expanding, contracting, warping, or cupping when exposed to fluctuating moisture levels or heat from appliances like dishwashers and ovens.
Rule 2: Pick a Forgiving Grain, Finish, and Color
Kitchen floors see plenty of action—dropped utensils, crumbs, pet activity, and constant foot traffic. Choosing a ultra-smooth, high-gloss dark hardwood will reveal every speck of dust, pet hair, and minor scratch under kitchen lighting.
To keep your kitchen looking pristine with minimal upkeep, follow these aesthetic guidelines:
Select strong grain patterns: Species like White Oak, Red Oak, or Hickory feature prominent natural graining that effortlessly hides minor scuffs and daily dust.
Opt for low-sheen finishes: Matte, satin, or wire-brushed finishes diffuse light and conceal surface wear much better than high-gloss coatings.
Choose medium tones: Warm natural tones, light oaks, or soft greys are far more forgiving than extremely dark or stark white stains.
Rule 3: Seal the Surface for Superior Defense
Water is hardwood’s main adversary. A slow leak behind the ice maker or an unnoticed spill near the sink can seep into unsealed seams and damage the wood underneath. If you choose job-site finished hardwood, ensure your installer applies a high-quality, water-resistant protective polyurethane coat across the entire floor after installation to seal the joints.
If you opt for factory pre-finished planks, ensure they feature durable, multi-layer aluminum oxide coatings. Pay close attention to spill management: keep absorbent mats near the sink and refrigerator, and clean up liquid accidents immediately to keep moisture from standing on the seams.
Rule 4: Design for Long-Term Visual Balance
Hardwood flooring creates a strong visual statement. To keep your kitchen design cohesive, ensure your flooring harmonizes with your cabinetry and countertops rather than competing with them.
If you have dark stained cabinets, opt for lighter hardwood flooring to create high-contrast interest and keep the room from feeling closed in. Conversely, if you have bright white or light-painted cabinets, a warm oak or walnut floor provides a rich anchor that grounds the space. Always sample your cabinet finishes, countertop slabs, and wood planks together under your kitchen's natural and artificial lighting before making a final selection.
Installing hardwood in your kitchen elevates your home's aesthetic, seamlessly blending utility with luxury design. By picking the right engineered structure, forgiving finishes, and complementary colors, you get a beautiful, resilient space built for living.


